

Introducing ClickFlare MCP Server
The ClickFlare MCP (Model Context Protocol), allows you to connect ClickFlare to AI models, such as ChatGPT, in a structured, reliable way. In simple terms, it is a safe bridge that lets AI analyze performance and help you manage campaigns, landers, and offers.Why use the ClickFlare MCP Server
Once connected, you can:- Run deep performance analyses on your reports
- Create campaigns, offers, and landers directly from chat
- Cross-connect with other MCP tools, for example read rows from Google Sheets and create matching offers in ClickFlare
AI Platforms you can use with ClickFlare
You can use this new feature with any MCP-compatible client. Below are the most common platforms and how they fit in.Chat-based assistants
-
OpenAI ChatGPT (web)
- Best for: fast, everyday use in the browser.
- Benefits: easy setup, great for quick analyses, summaries, and approval-based changes.
-
Other MCP-compatible chat apps (e.g., Claude.ai)
- Best for: longer planning chats and strategy docs.
- Benefits: natural language strengths for audits, quarterly reviews, and “what to test next.”
Workbench & editor
-
VS Code or similar editors with MCP support
- Best for: marketers and devs working on landers or tracking scripts.
- Benefits: analyze performance and push small changes without leaving your editor.
Custom internal tools
-
In-house dashboards
- Best for: teams that want tailored workflows.
- Benefits: role-based access, company-specific prompts, and centralized logging to match your processes.
Getting started with ClickFlare MCP
Here’s a step-by-step guide to connect ClickFlare MCP with ChatGPT:1. Open ChatGPT
Go toplatform.openai.com/chat and start a new conversation.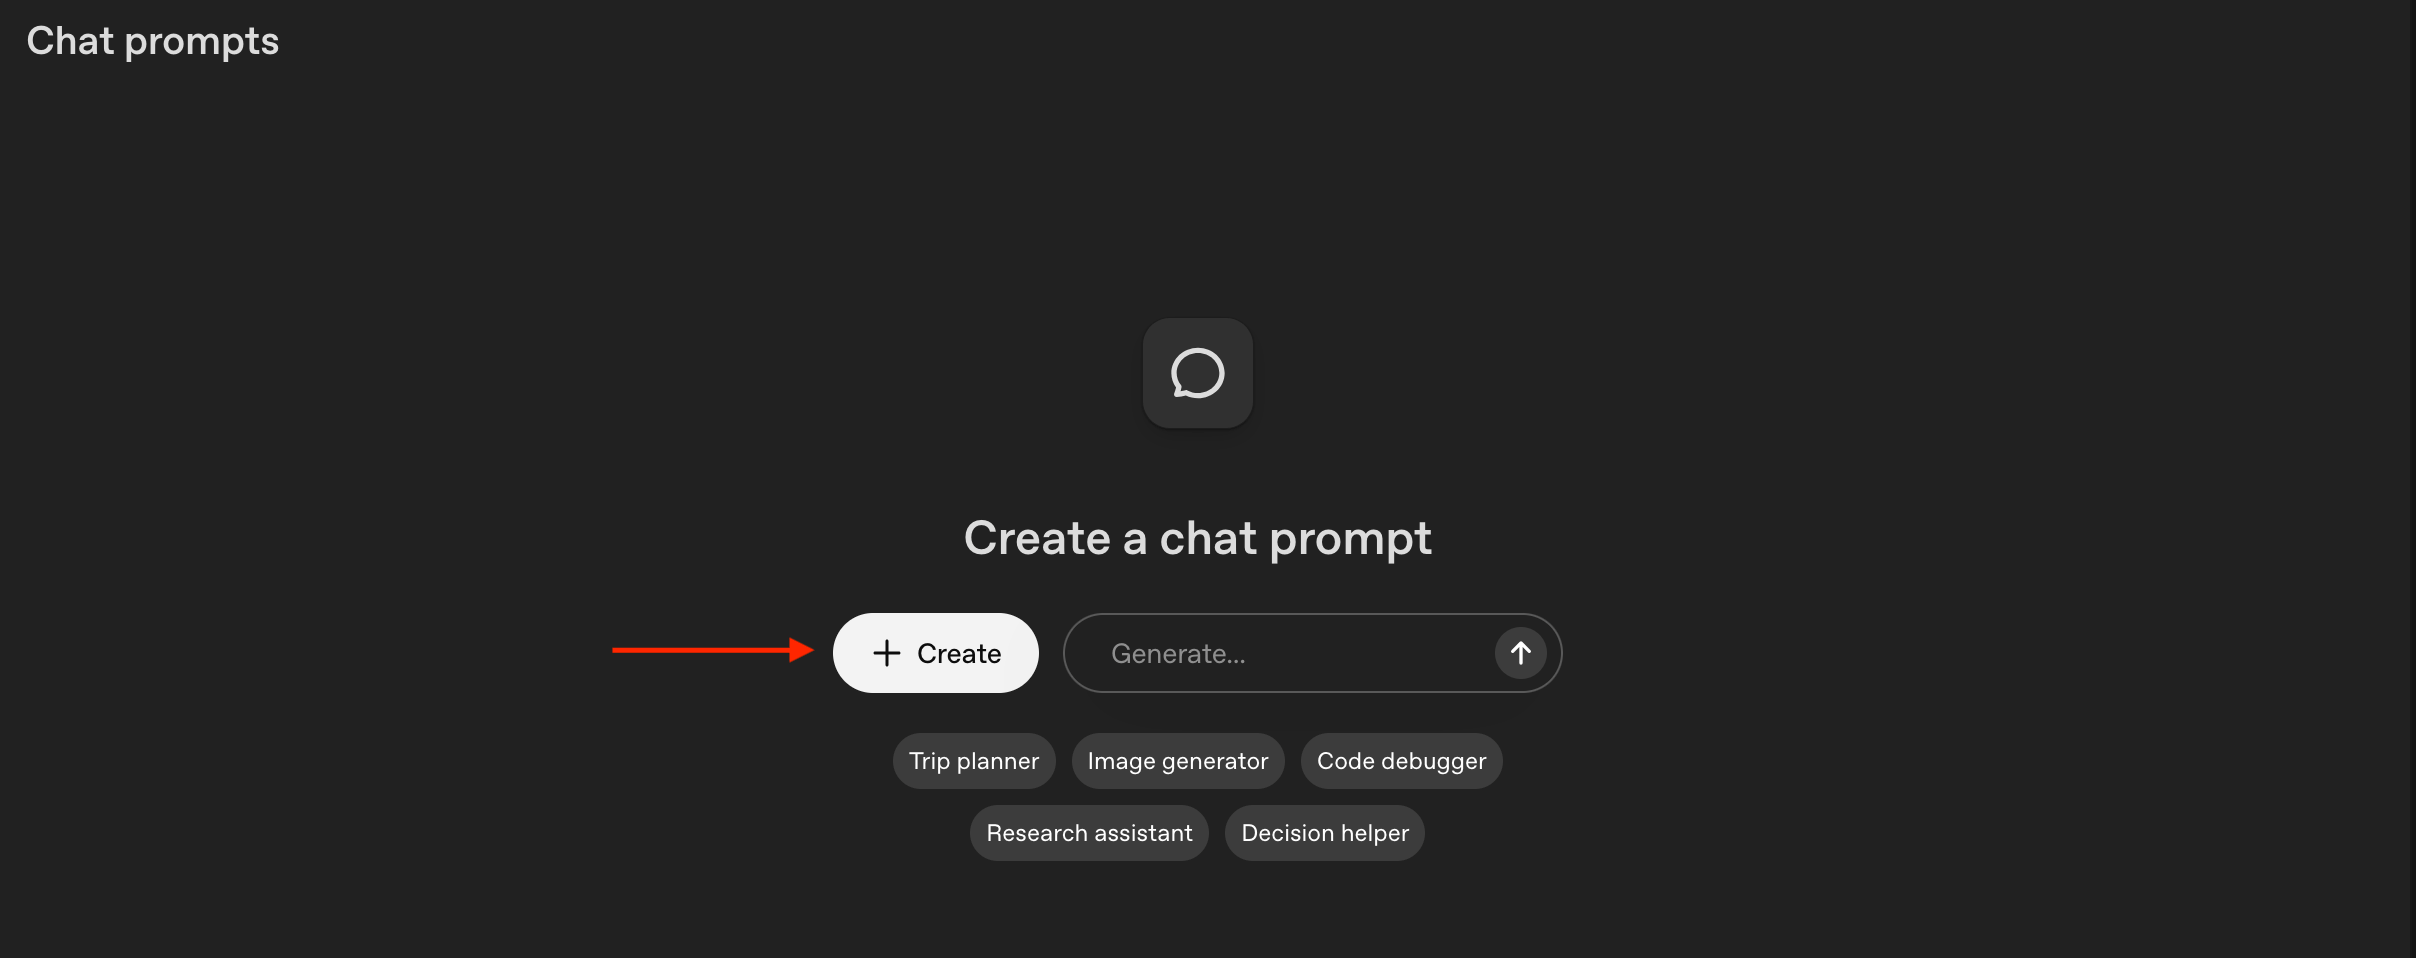
2. Choose Your Model
When choosing a model, it is important to choose a model with a large TPM limit (60K TPM). Refer to your organization’s limits for each model here.- We recommend gpt-5-mini for the best balance of reasoning and reliability.
3. Add ClickFlare MCP Server
In ChatGPT, go to:- + Create → Tools → + Add → MCP Server → + Server

 Configure the MCP server with these settings:
- URL: https://mcp.clickflare.com/mcp
- Label:
ClickFlare - Authentication: Enter your ClickFlare API key (you can find it in Settings → API Keys)

4. Select Tools & Approvals
- We recommend enabling all ClickFlare tools.
- For the best experience, set approval to only apply for destructive actions (e.g., deletions).
- This keeps the workflow smooth while maintaining safety.


5. Add Context with a Developer Message
To get the best results with ClickFlare MCP, you need to provide context to the AI. Here’s a ready-to-use developer message you can paste in your chat:
Exploring ClickFlare with AI
That’s it, you are connected! 🎉 Now you can explore and manage your ClickFlare account directly through AI-powered conversations. If you’re unsure where to start, just ask: “Hello, how can you help me with ClickFlare?” The assistant will scan available tools and guide you through what’s possible.Example Prompts to Try
Here are some practical prompts to get you going:- “What are my most profitable campaigns in the last 7 days?”
- “Take this
<campaign id or name>and drill down by ad id or adset id.” - “Given this
<campaign id>can you analyze different breakdowns and provide a brief report of what is working best?” - “Which geos and devices are performing best based on ROI?”
- “Why is campaign
<campaign id>underperforming?” - “Can you create an offers-only campaign with these three offers
<ids>similar to<existing campaign id>?” - “Delete these campaigns/offers/traffic sources
<ids>.”