

- An active ExplorAds Account.
- An active ClickFlare Account.
- Your ExplorAds Email and Password.
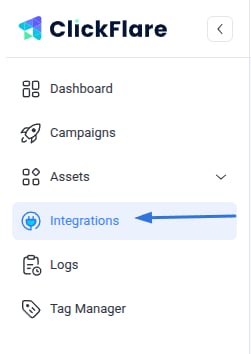
- Under RSOC Integrations, click Add Integration.

- Choose the ExplorAds (New) template
- Give your new integration a Name.
Note: Have your integrations’ connection info ready before proceeding to connect them with ClickFlare.
- Under Accounts, click on + Connect Account.
- Enter the account name, email, and password, and click on Save.
- Move on to choosing the custom conversion you want to attribute the conversion event to. To learn how to add a custom conversion in ClickFlare, follow our article here.
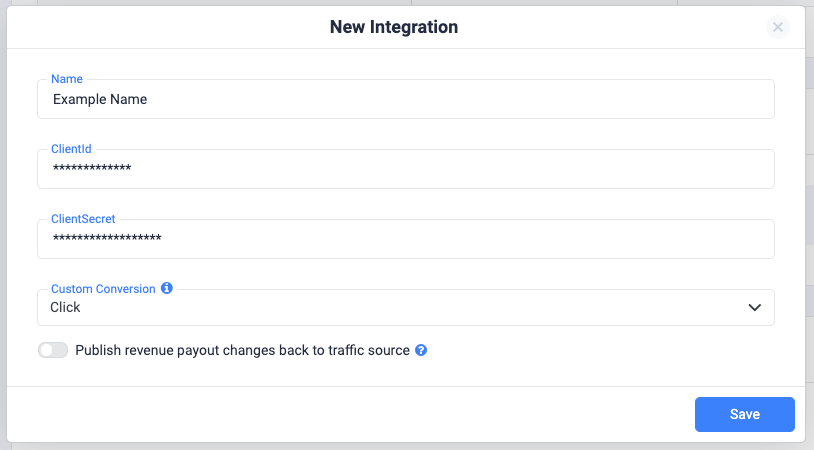
Note: In order for the integration to work, you have to send the {cf_click_id} to the “clid” parameter (check the offer URL example below). That’s why you’re not giving the option to choose a subid, like for other Feeds.
- Lastly, click on Save. You’ll see the new integration appear under the Revenue Stream Integrations section.
GoogleAds
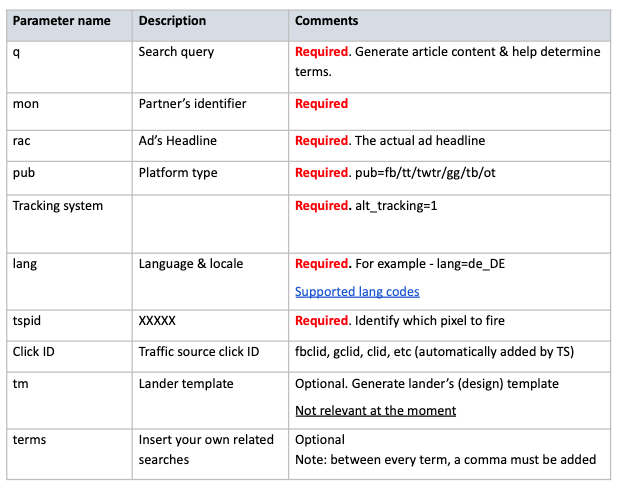
- See the screenshot below for a breakdown of what each parameter represents.
Important Note:
The parameters utm_campaign={campaign_id} and clid={cf_click_id} are essential for accurate revenue pulling and conversion tracking. Make sure to include both in your offer’s URL for proper attribution and reporting.
Note: ExplorAds revenue reporting operates on PST time. Please ensure to set your ClickFlare settings to PST when checking reporting for ExplorAds.
Note: ExplorAds earnings are consistently reported in EUR. When setting up your ExplorAds offers in ClickFlare, ensure that you choose EUR at the offer level. The system will then automatically convert the currency to your default reporting currency. You can adjust your default currency in the general settings.