

- An active GoogleAds Account
- An active ClickFlare Account
Note: In case you don’t have a Google Ads account, you’ll need to create one first. Click here to learn more on how to set up an account.
- Go to the Integrations tab.
-
In the Conversion API Integrations section, click on Add Integration.
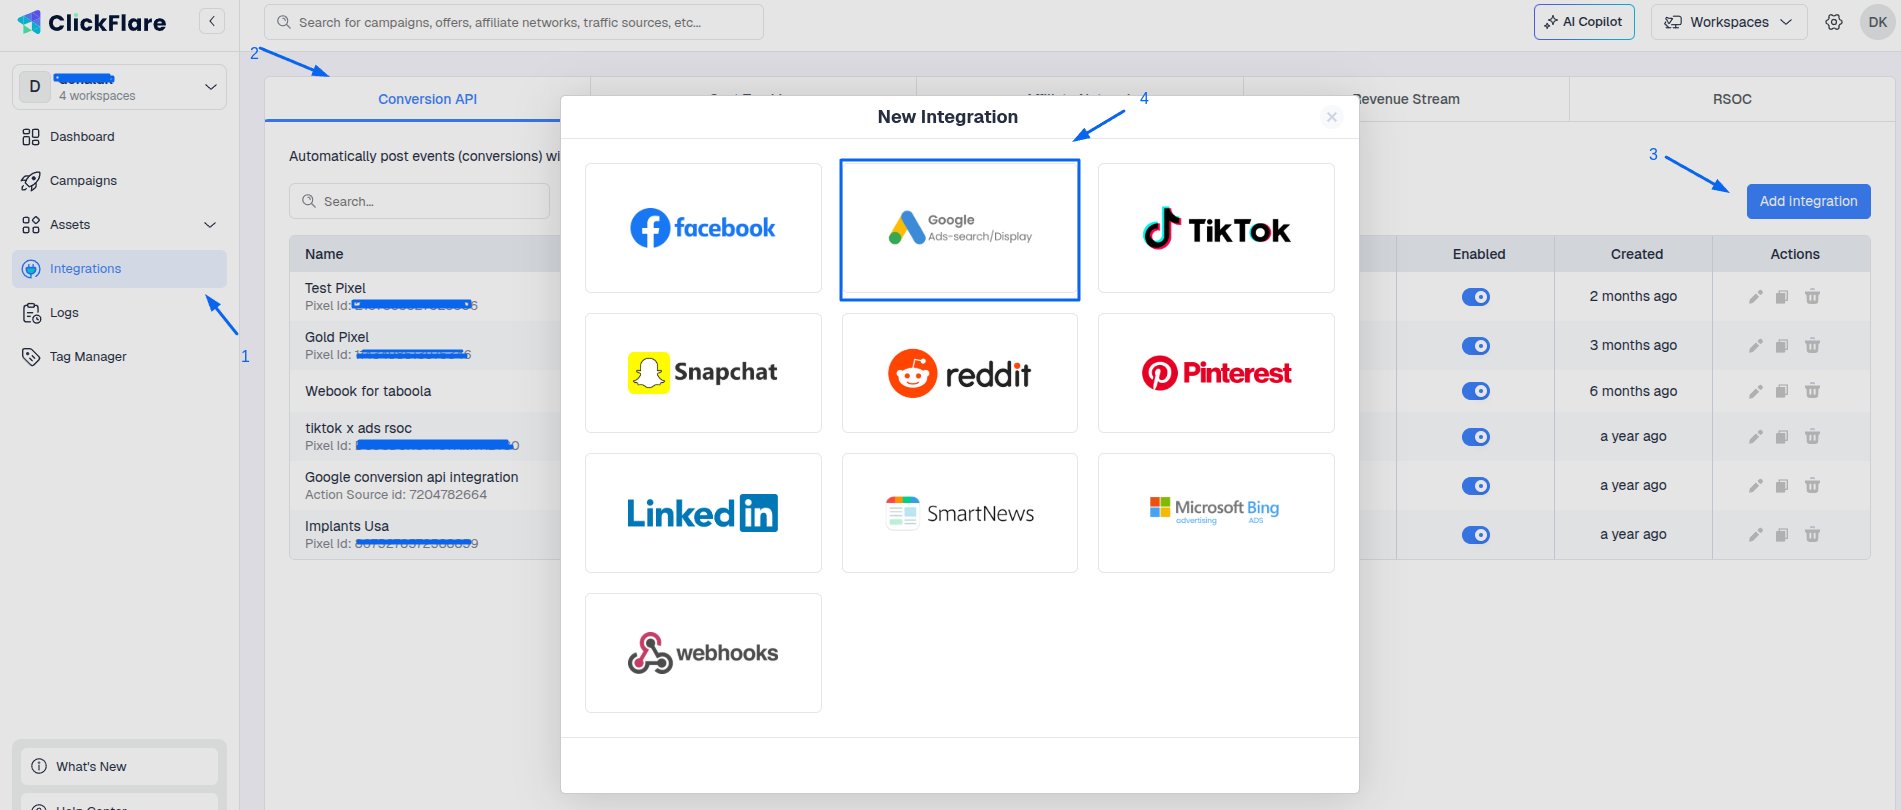
- Select Google Ads from the templates list.
-
After selecting GA from the dropdown list, you’ll be asked to select the GA account you would like to connect to ClickFlare. If you already have any GA accounts connected to ClickFlare, they’ll show under Use an existing account (A) (see image below). In this case, you can skip directly to step 9.
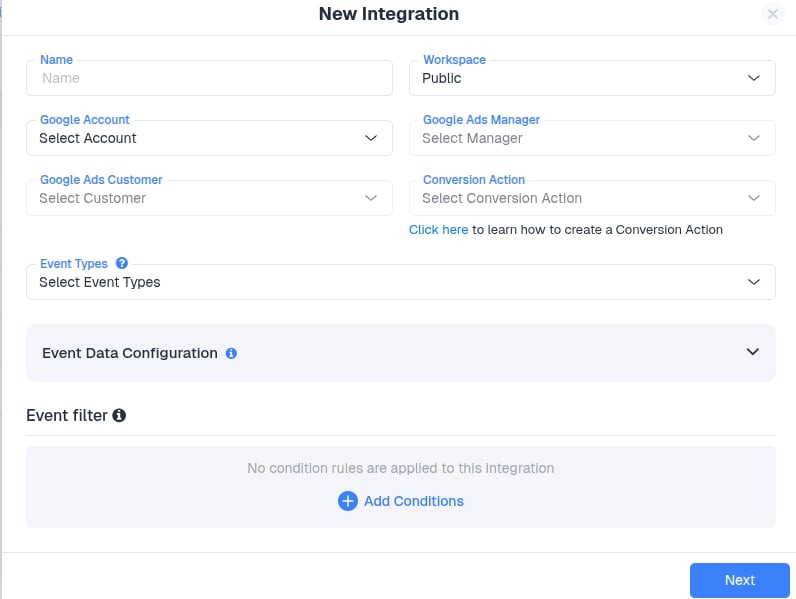
- If you are connecting a new account, then click on the Sign in with Google (B) button. (see image above).
-
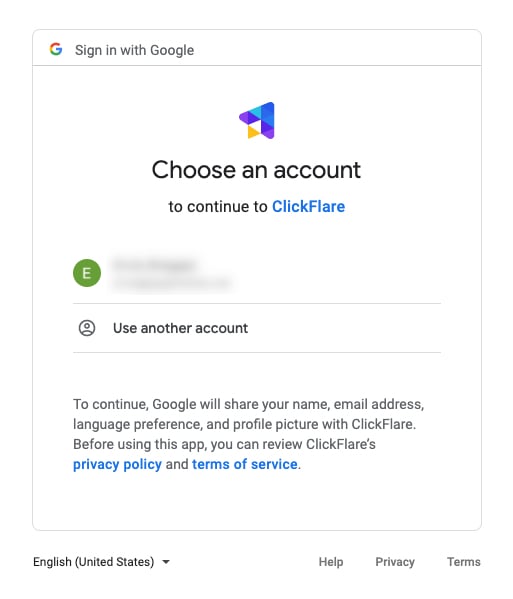
You’ll be redirected to the Google accounts page. Select the email address connected to your Google Ads account.
-
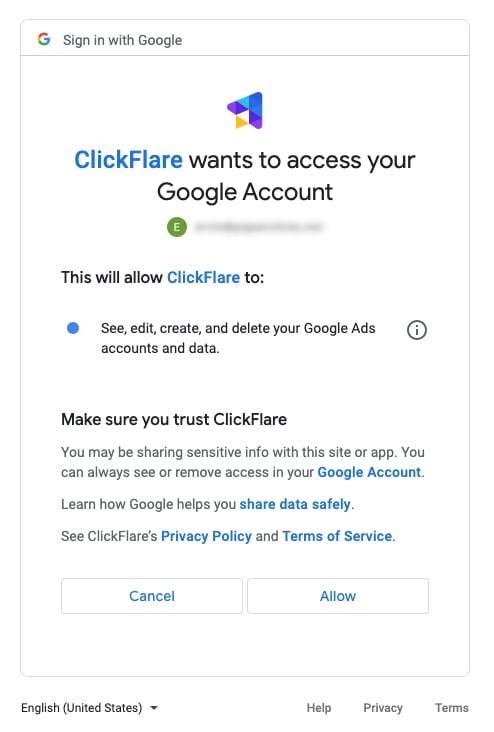
You’ll be asked to give access to ClickFlare in your Account. Click on continue.
- After being redirected to ClickFlare, choose your newly connected account.
- From the dropdown menu, select the Google Ads Manager and the Google Ads Customer.
- Then select your Conversion Action, which is the pixel you’ll send your conversions to. All your conversions will be collected there. If you don’t already have a conversion action on GA, you’ll have to create one first. To learn more about how to create a Google Pixel, click here.
-
Choose from the dropdown list the Event Types you’re going to post back to GA (see image below).
Note: In case you want to post different event types, you have the possibility to select more than one event type. You can also create custom events. To learn more about how to create a custom event, click here.
-
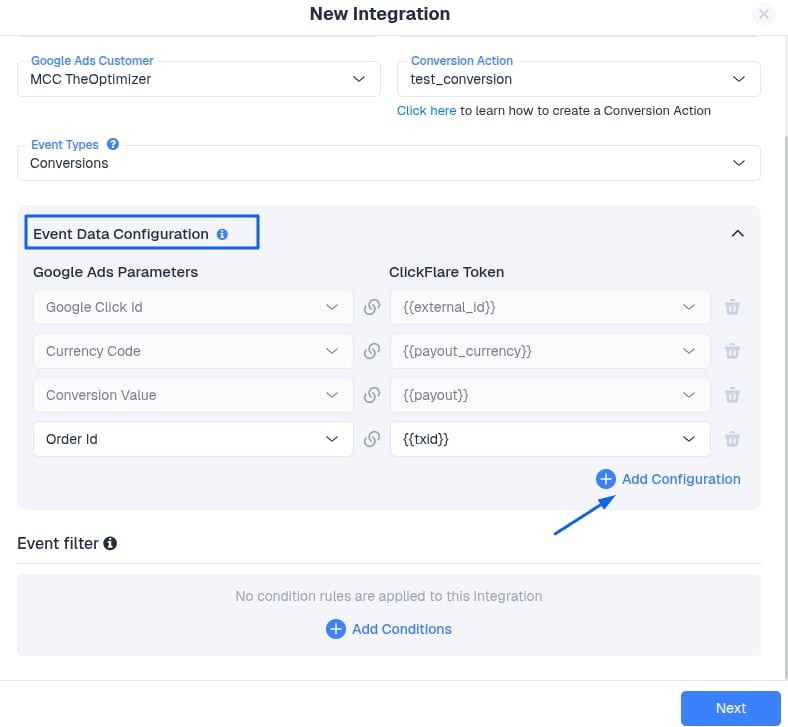
Once you have selected the Event Types, the Event Data Configuration table appears. From here, you configure which parameter you are going to post to GA.
On the right side of the table are ClickFlare’s tokens. Choose the token that contains the data that you want to pass to GA.
Then on the left side are GA’s parameters. The values of ClickFlare’s tokens will be passed to these GA parameters. You’ll be able to see these parameters directly on GA, which is also the scope of the integration.
Note: Some parameters are required from the Traffic Source and can not be changed or deleted.
-
Click on Add Configuration if you want to add additional parameters to pass to FB. If you want to learn more about how to add additional parameters, click here.
- Finally, once done, click on Save. You’ll see the new integration appear under the Conversion API Integrations section.
