

- An active Google Ads Account
- An active ClickFlare Account
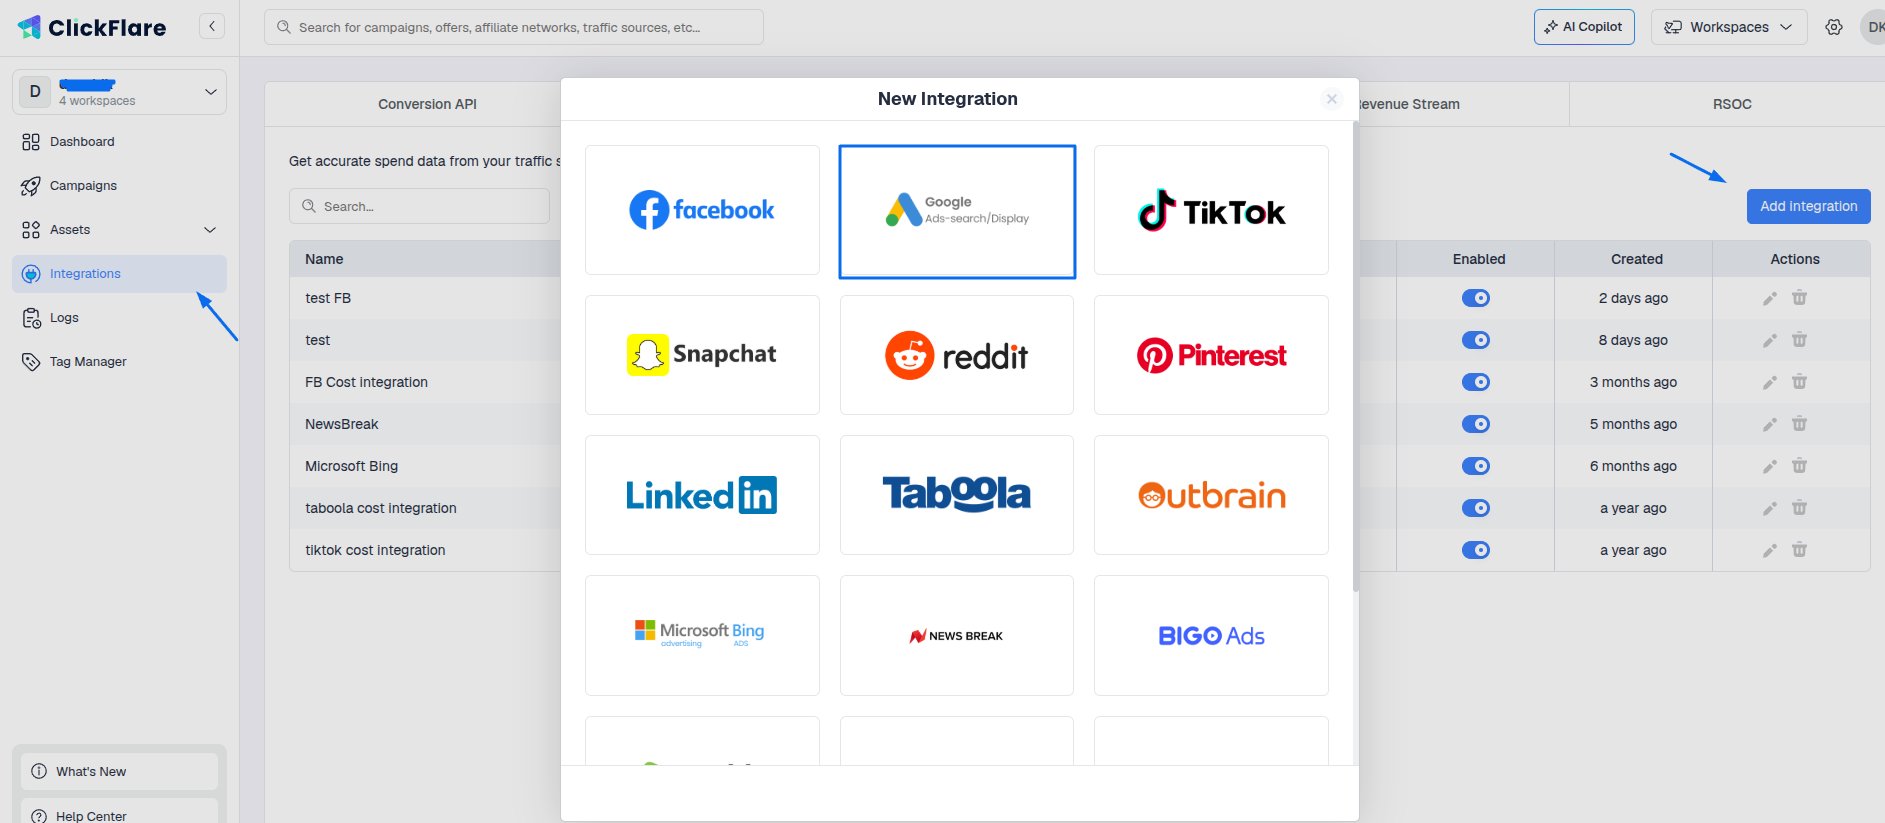
- Go to the Left Sidebar
- Go to the Integrations tab.
-
In the Cost Tracking Integrations section, click on Add Integration.
-
Give your integration a name
Select the Google Ads account you want to connect to and the Integration Timezone.
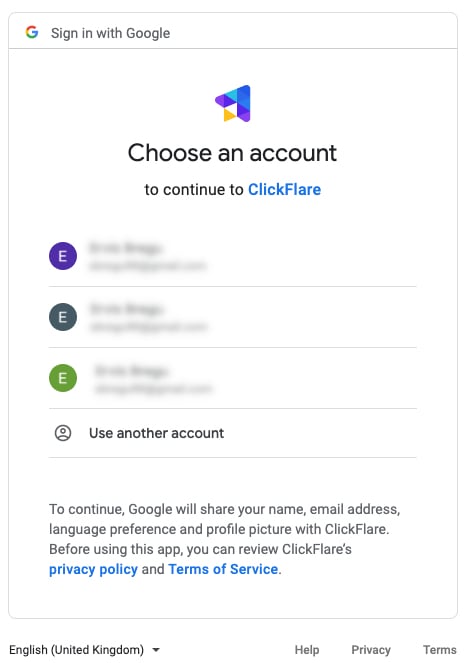
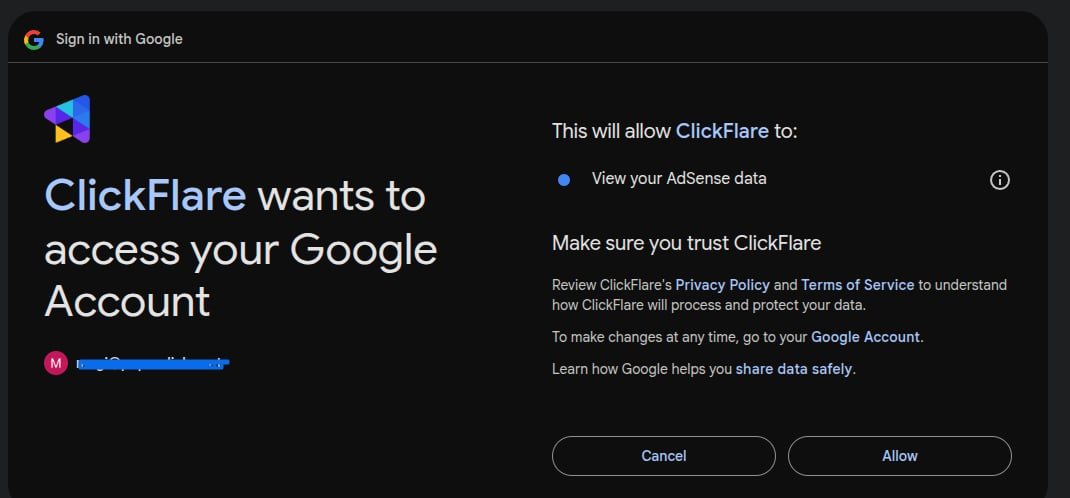
 If you already have a Google Ads account connected to ClickFlare, you should be able to see it in the drop-down (image below).Note: The timezone should match the one in your Google Ads account.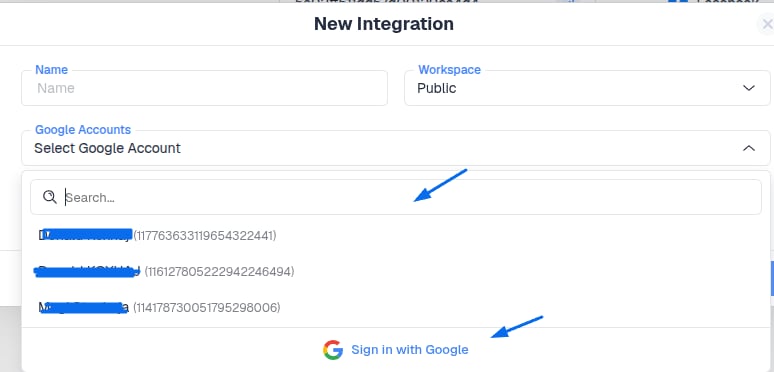
-
Choose the Ad Account(s) from which you want costs to be pulled, then click Save.
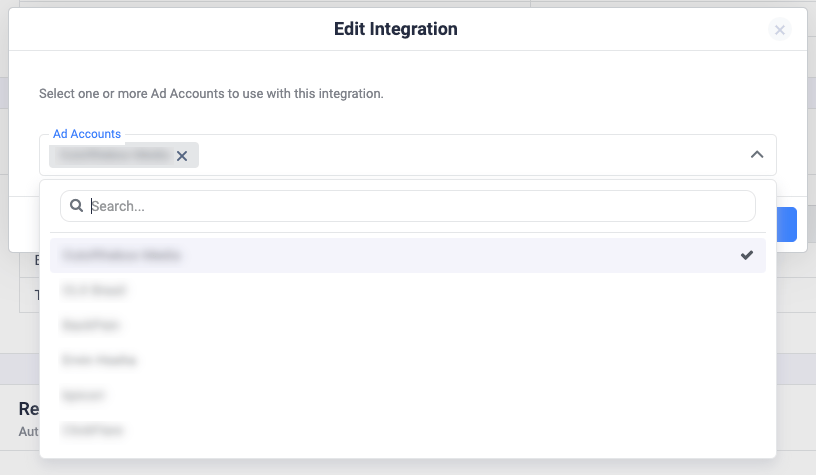 Note: You only need to create one integration per Business Account. In one integration, you can select multiple ad accounts. ClickFlare will then automatically know to which campaigns to associate costs.
-
Optional Step - Specify the traffic source configurations you want to assign this cost integration to.
 Important note: Make sure that the traffic source configurations you select in this step belong to the traffic source you created the integration for. Once done, click on Save.
 -
Lastly, go to the traffic source template settings and add the previously created cost integration.
 Important Note: When adding a Traffic Source, remember to select the new integration you just added. Failing to do so will result in costs not being pulled.